How to Write Your Name... Using a Computer


 2. After you do step one, you have to rasterize the layer. Do this by right clicking on the layer and going to the Rasterize Type button. Next, you crop the page so that your name is in the center. After you do that copy the layer. Do this by pulling the layer down to the small button that looks like a piece of paper with the corner folded over.
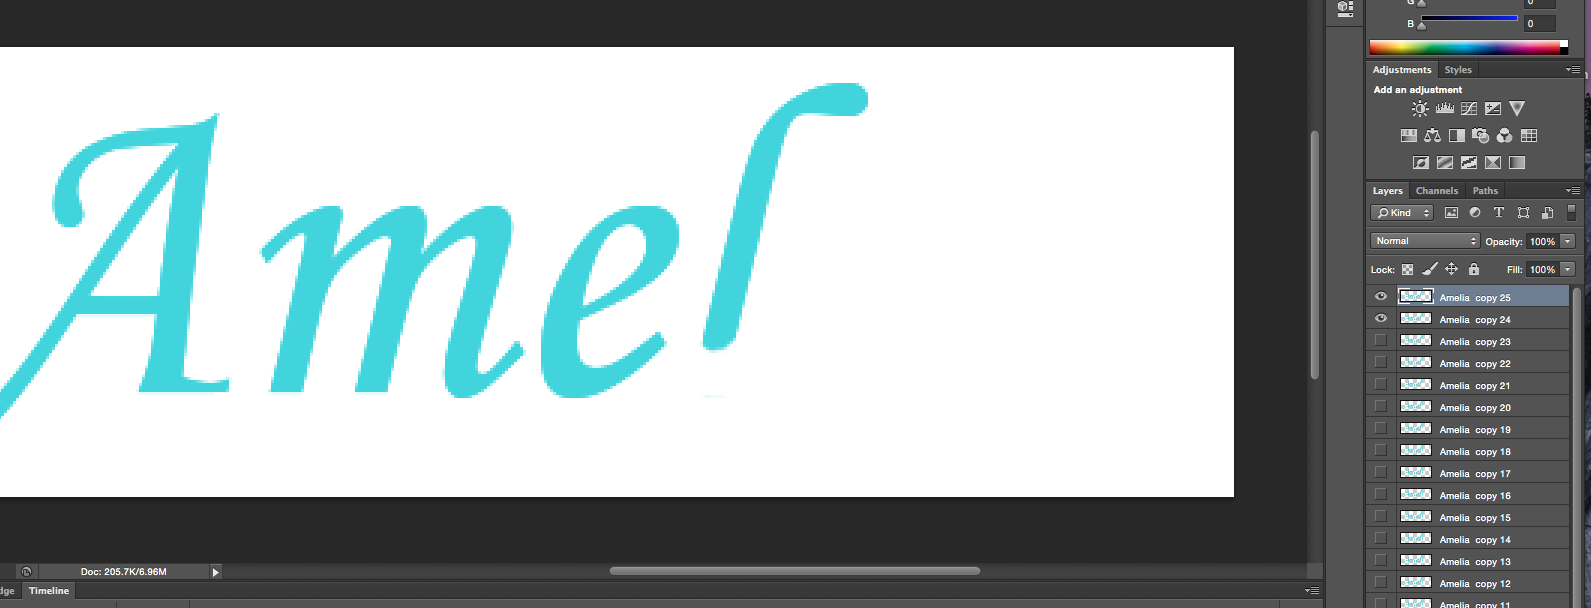
Tips to remember are:
~ If you don't erase everything then it will be there for the whole animation. So make sure that you erase all of the letter you mean to.
~Only do nine to ten slides per letter depending on how big the letter is or else that animation will go too slow.
 4. Once you have finished erasing your name, go to the create frame animation button at the bottom of the screen and click it. Once you click it a bar should come up at the bottom showing you all your frames.
5. Click the button above the frame bar on the right, then a list should come up like the one on the right. Click the make frames from layers button and all the frames should come up in the bar. After that click the first frame. Then, click shift and click the last frame (you will have to scroll over ). Go to the list again and click the reverse frames button to create the illusion of writing.
 6. Next, we add flare to the end of the animation. Copy the last frame
in the bar on the bottom and then the frame that is showing on the right. You can tell it is showing because there will be an eye next to it. After you do that hide by clicking the eye next to the original frame. Next, click the small fx button and a list should come up like the one on the left. Play around with the options until you find something you like. Then, you have to click the first slide then hold shift and click the second to last slide on the bottom. Next, click the eye by the side that you just created so it doesn't show through the whole animation.

7. Click the second to last slide on your animation. After you do that click the button on the bottom to the left that looks like dots. Then a screen should pop up that says tween on the top, on the left, down. Chose how many frames you want it to take for the animation to go from your name to your name with affects. Next click selected layers and make sure it is set on next frame. Then click OK.

8. If you want your animation to pause before your name changes design, go to the slide before the change and click the down arrow. Choose how long you want the animation to pause in seconds. Play and enjoy.


Nice job, Amelia!
ReplyDelete